DIY Ripped Jeans

I've lived my whole life obeying the principle that you should never buy something that you can make yourself, which is why buying ripped jeans has always low-key bothered me (even though I do buy them, like, a lot). There's just something so strange about buying jeans with holes already in them, especially when it's super easy (and wayyy less expensive) to make your own, which is why I'm so excited to share this DIY Ripped Jeans tutorial with you! It's super simple, and practically impossible to mess it up--but if you do, it's okay; just shoot me a DM and I'll help you through it ;).
Go get yourself a pair of jeans & let's get this thing going! Here's a sneak peek of the end product...
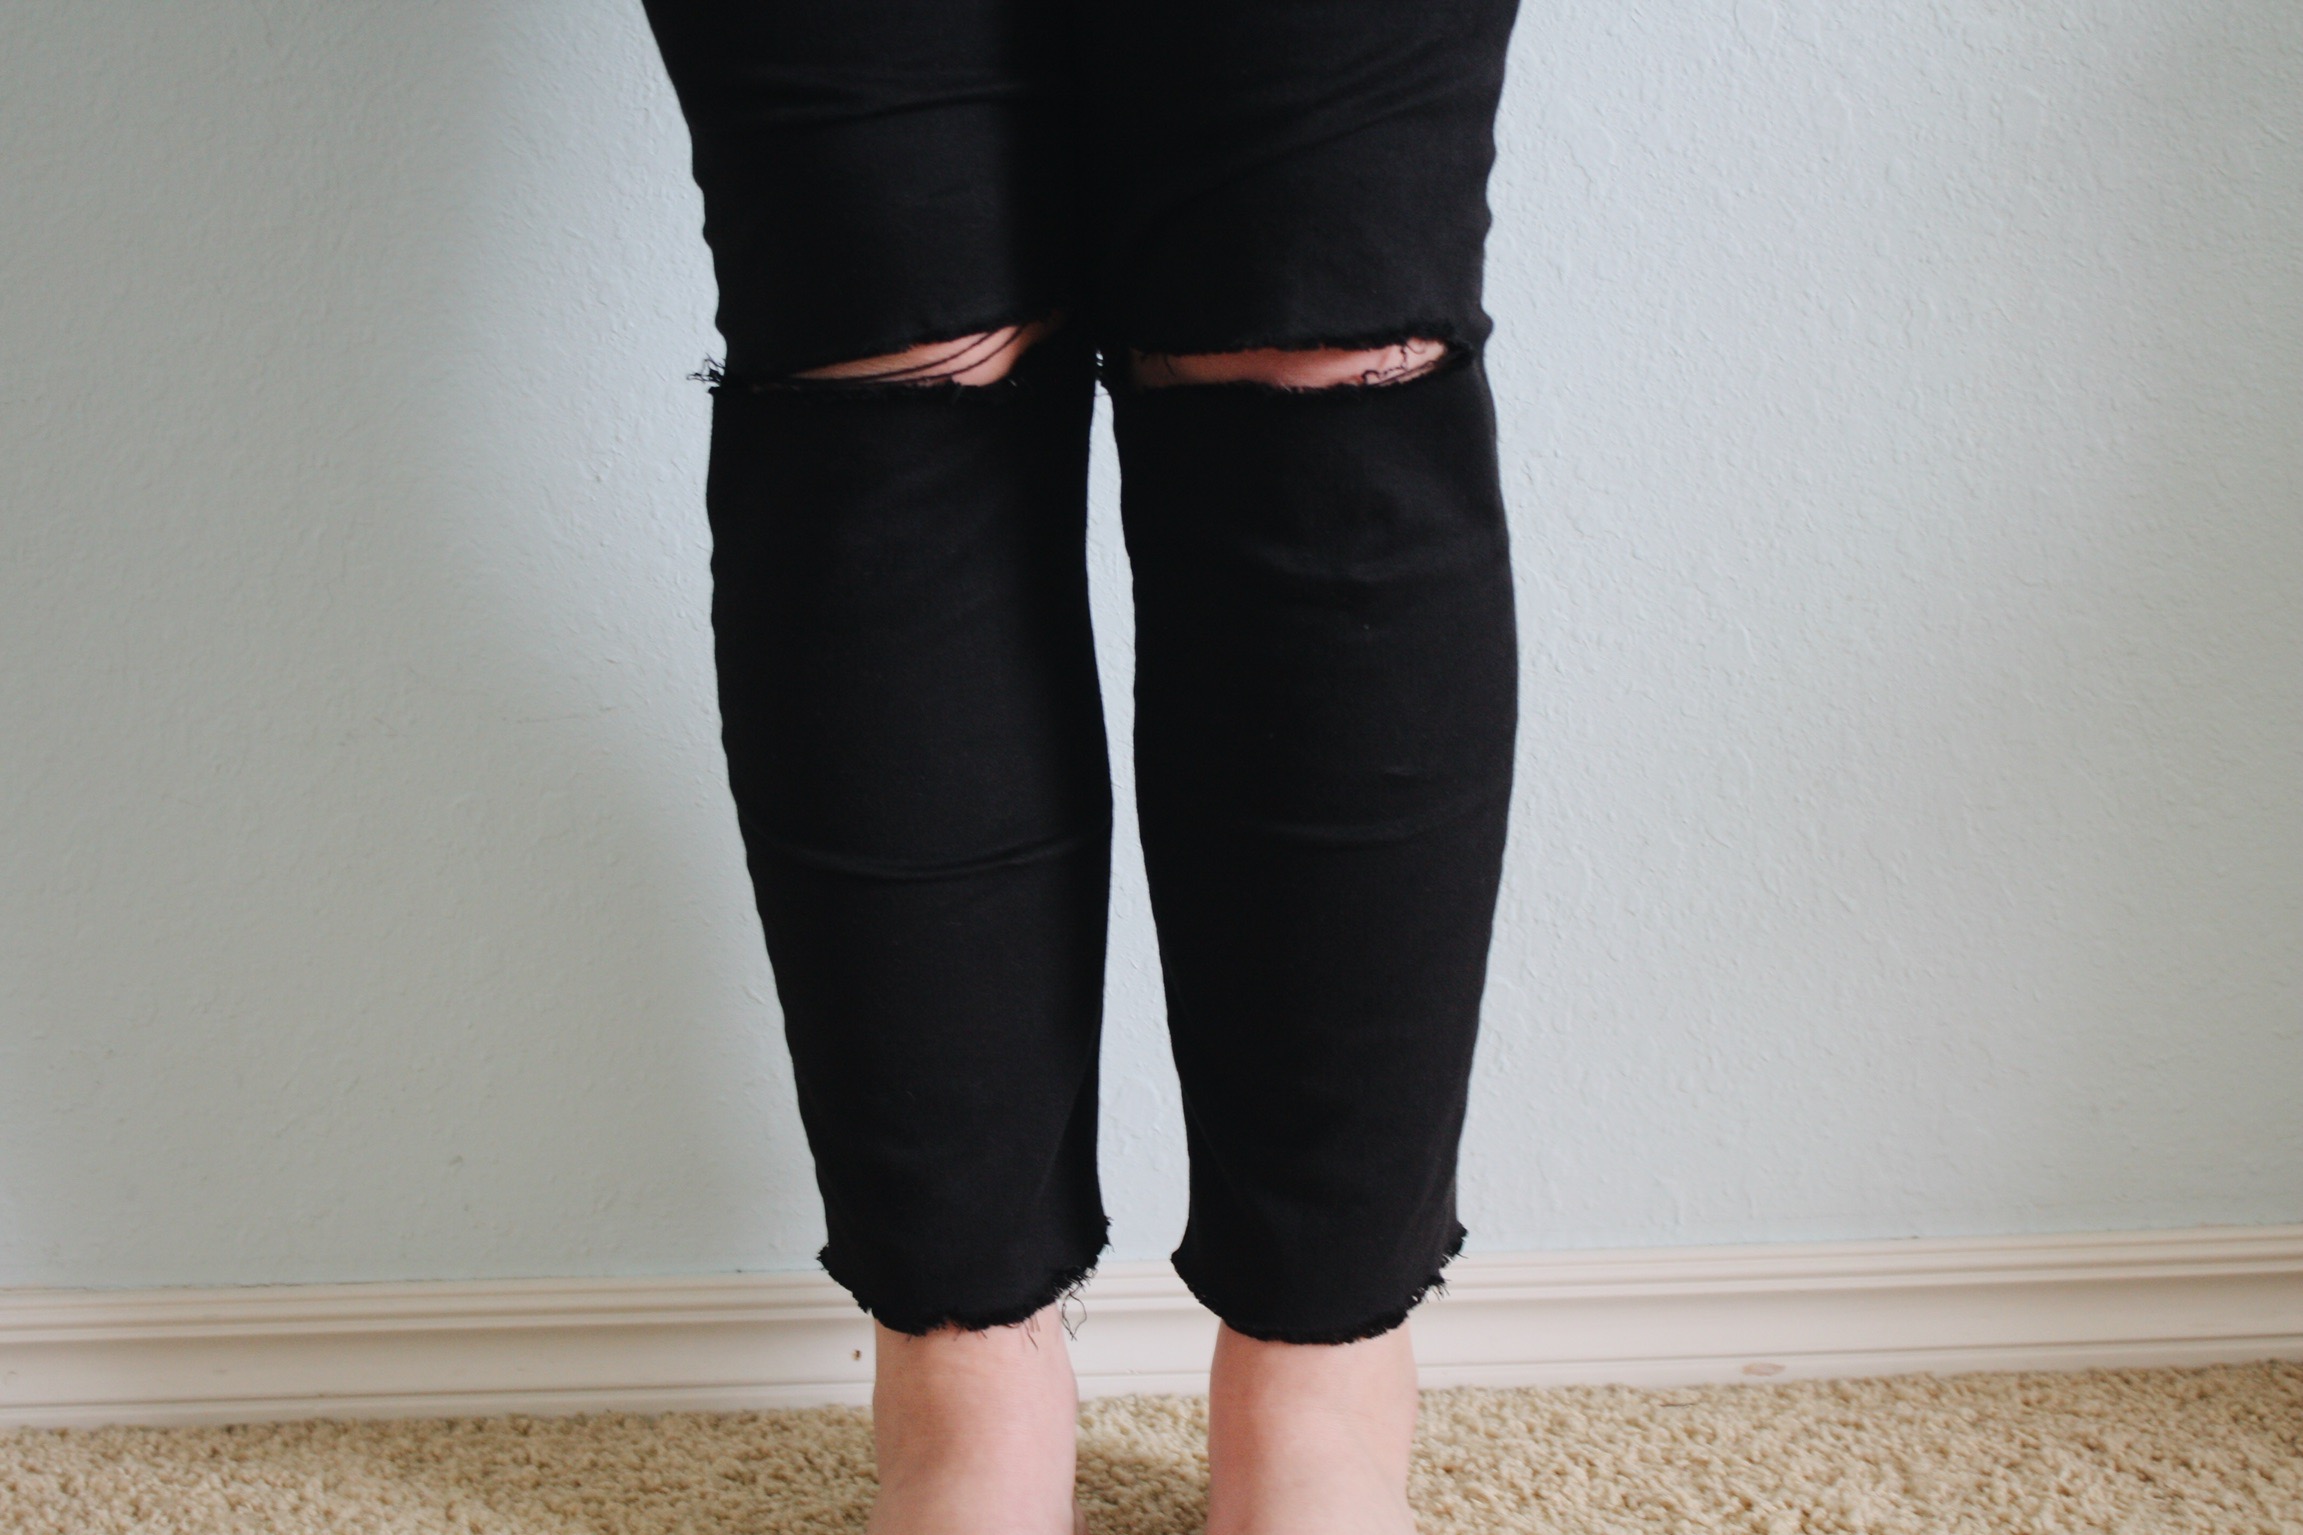
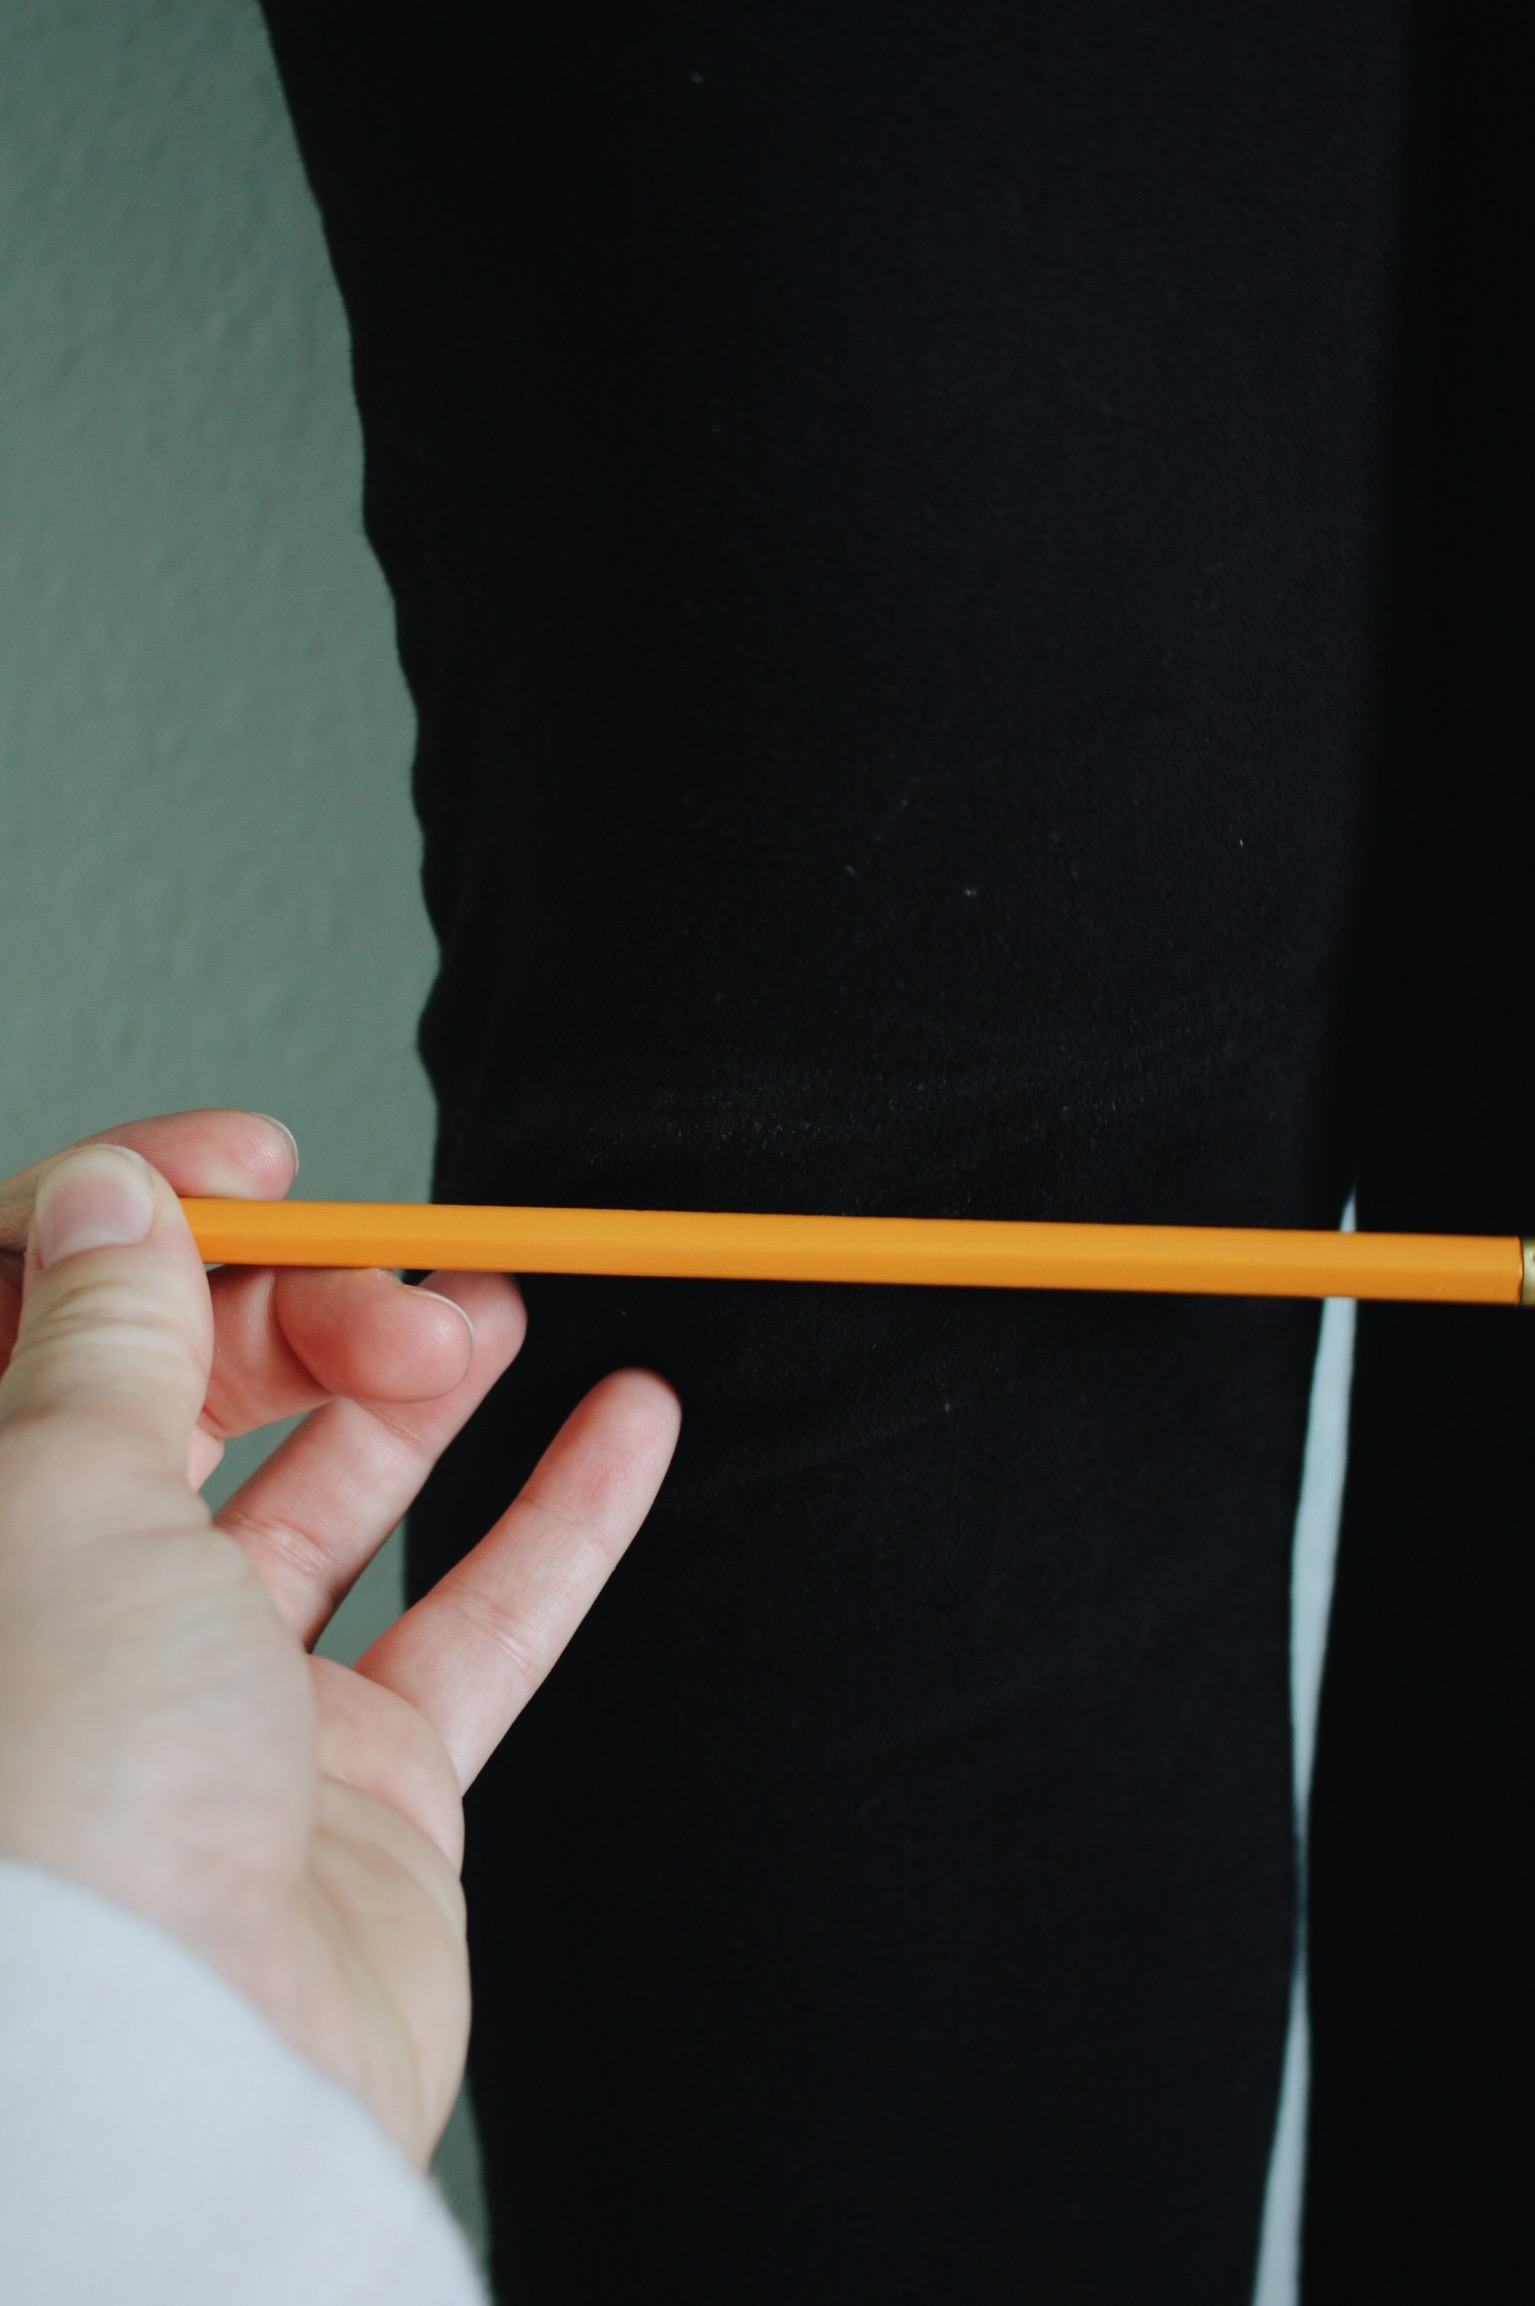
STEP ONE: Put your pants on and decide where you want your holes to be, then use a pencil to mark that area. Fear not! Your line doesn't have to be perfectly straight. In fact, the messier your hole is, the better the end product will look. For this pair of jeans, I wanted the holes to hit just below the kneecap, so I sketched out roughly where that was.
PRO-TIP: Don't worry about trying to mark both your holes at the same time. It's easier + looks better when you do them one knee at a time.

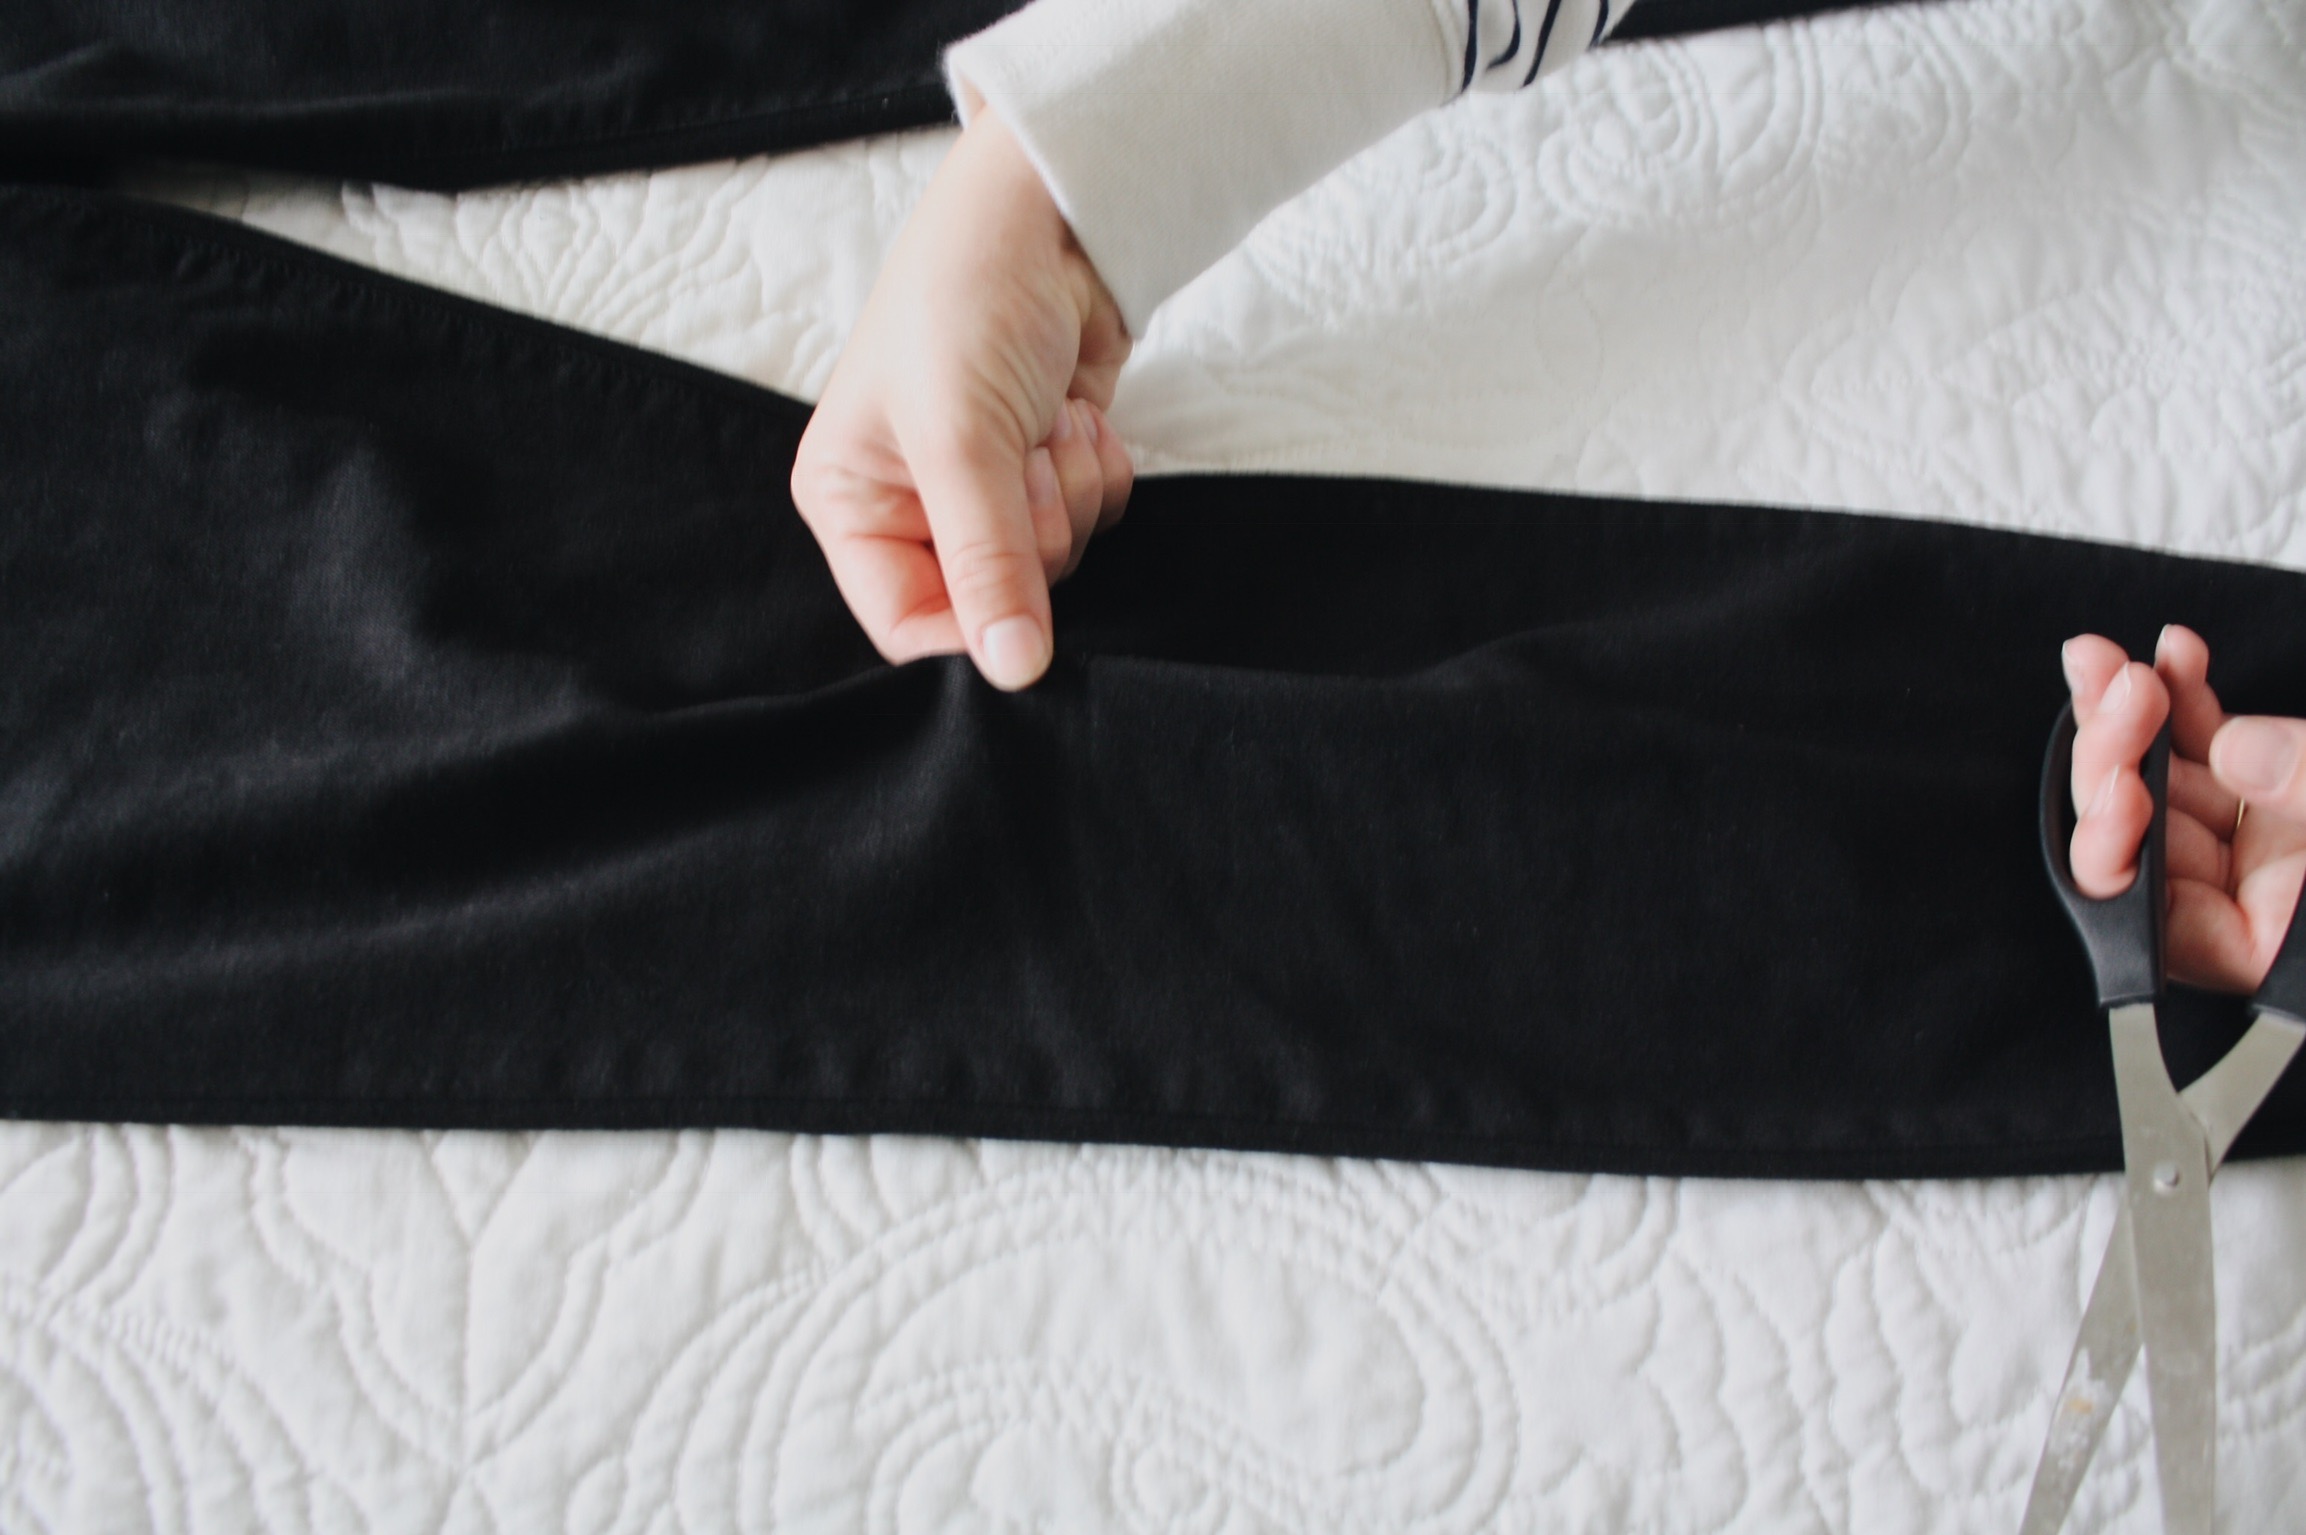
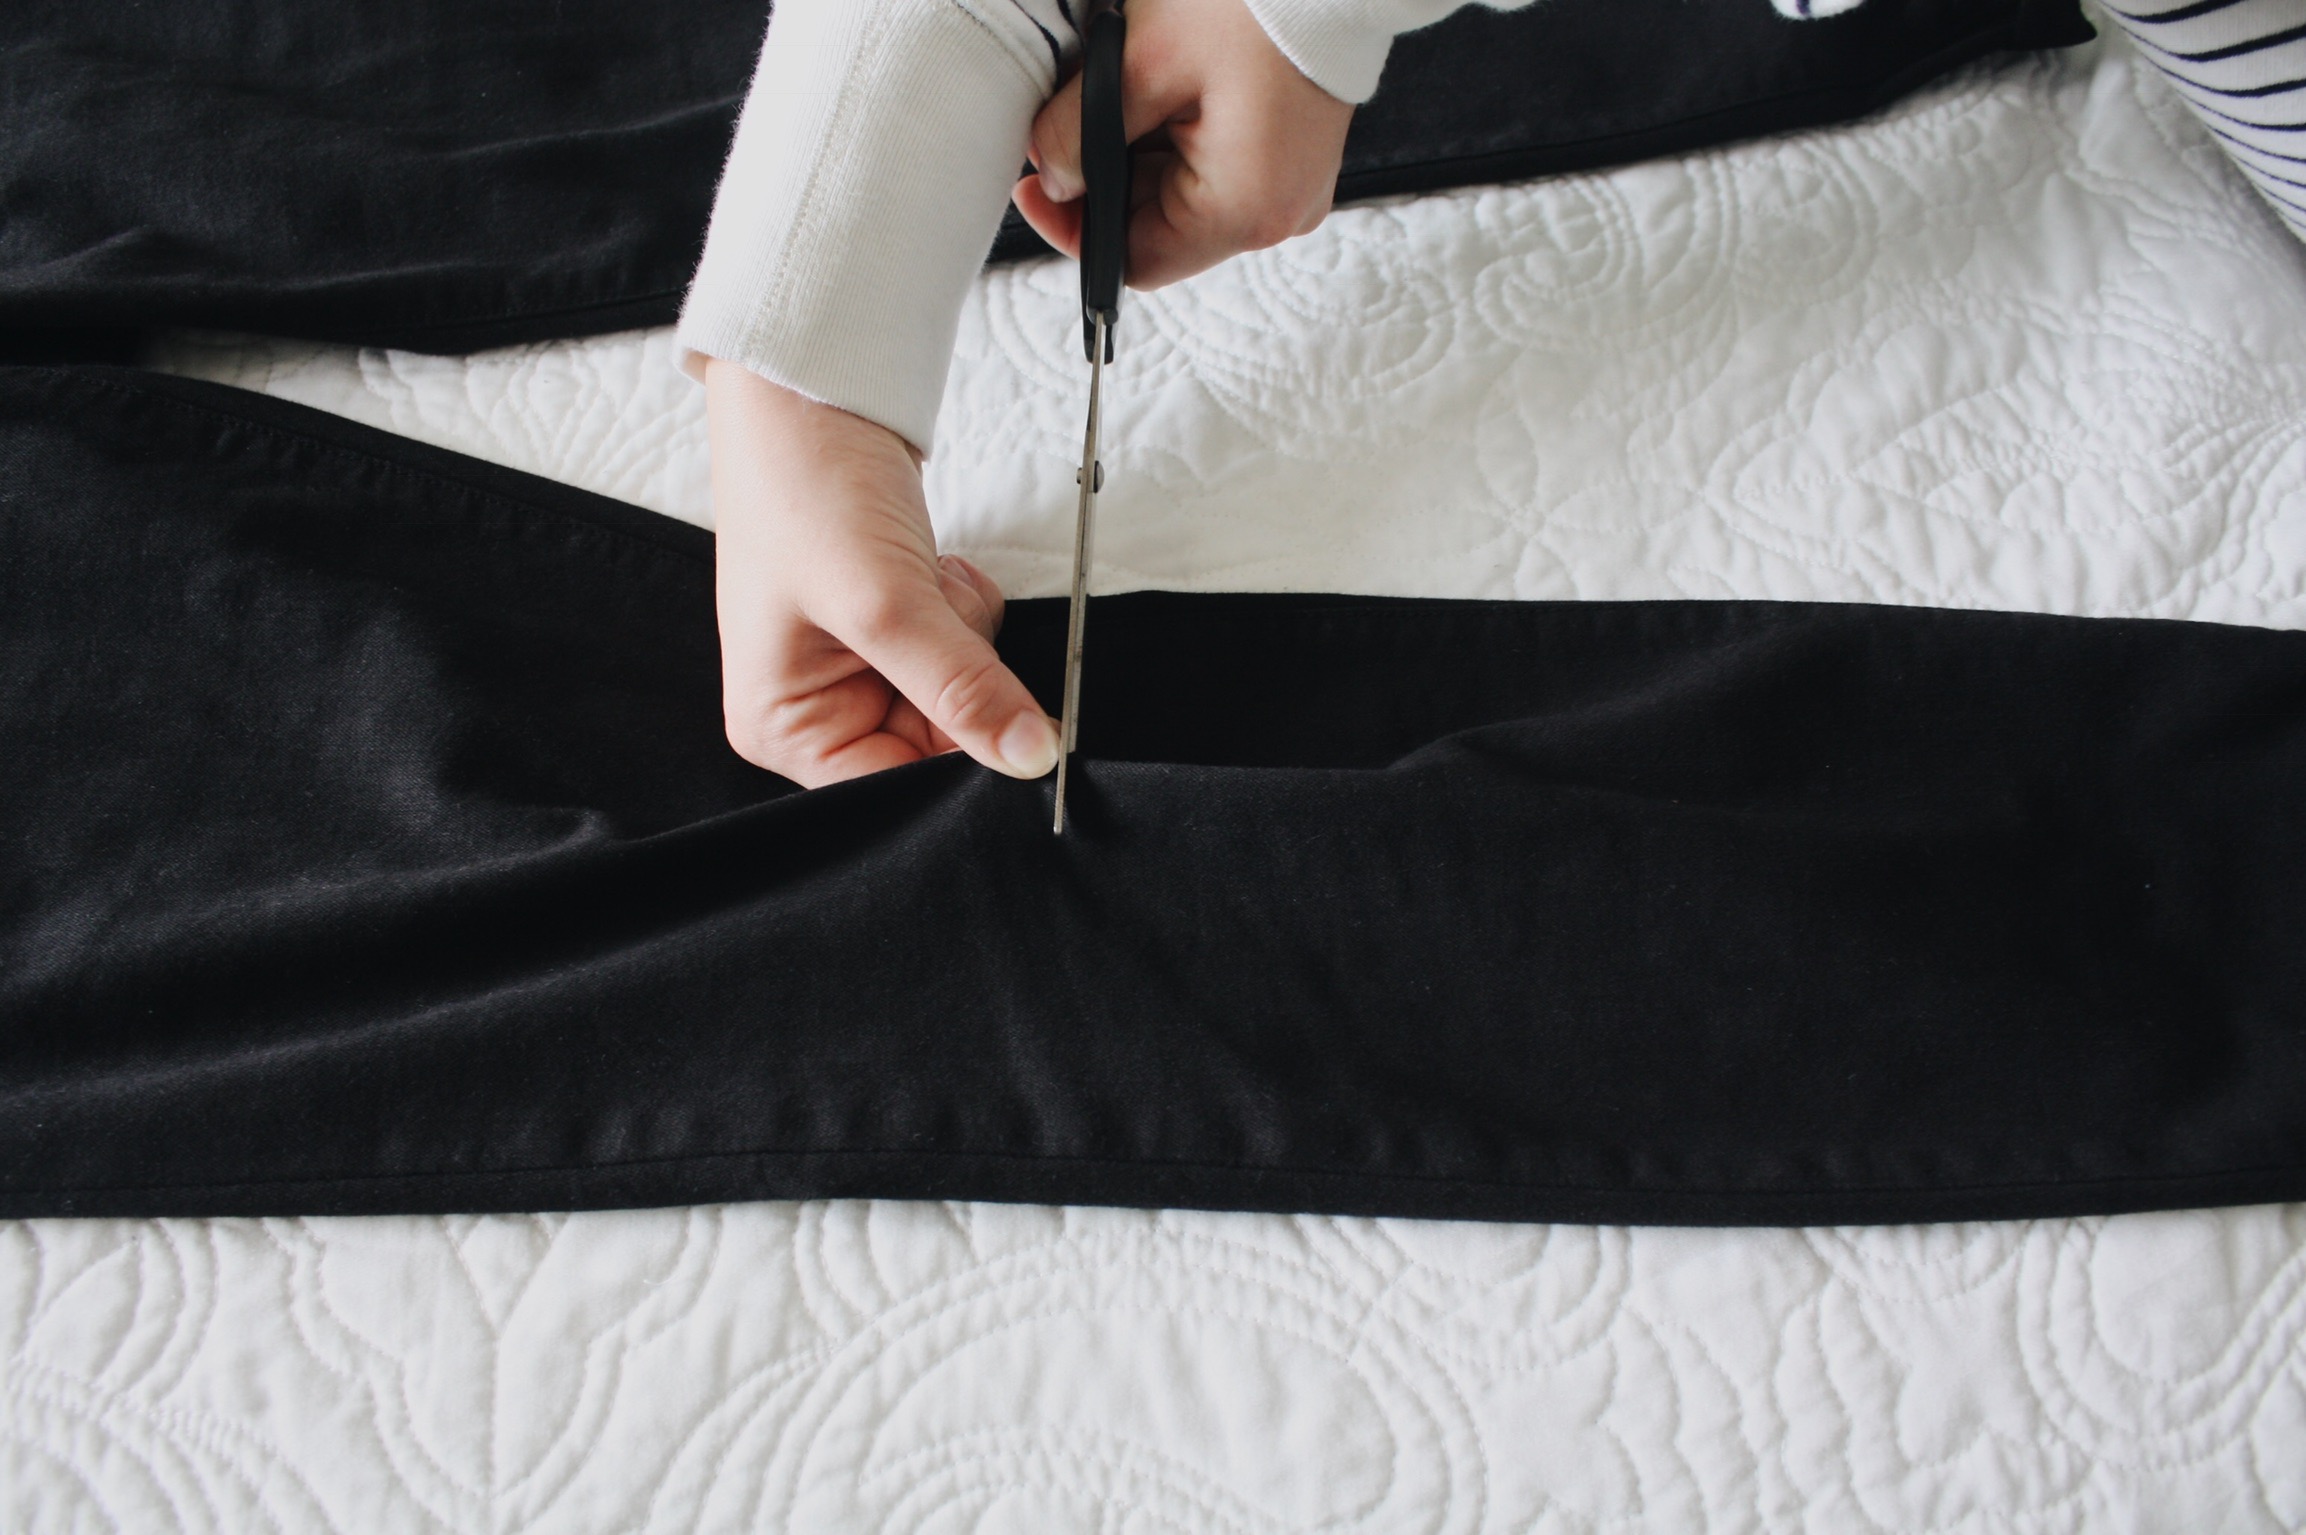
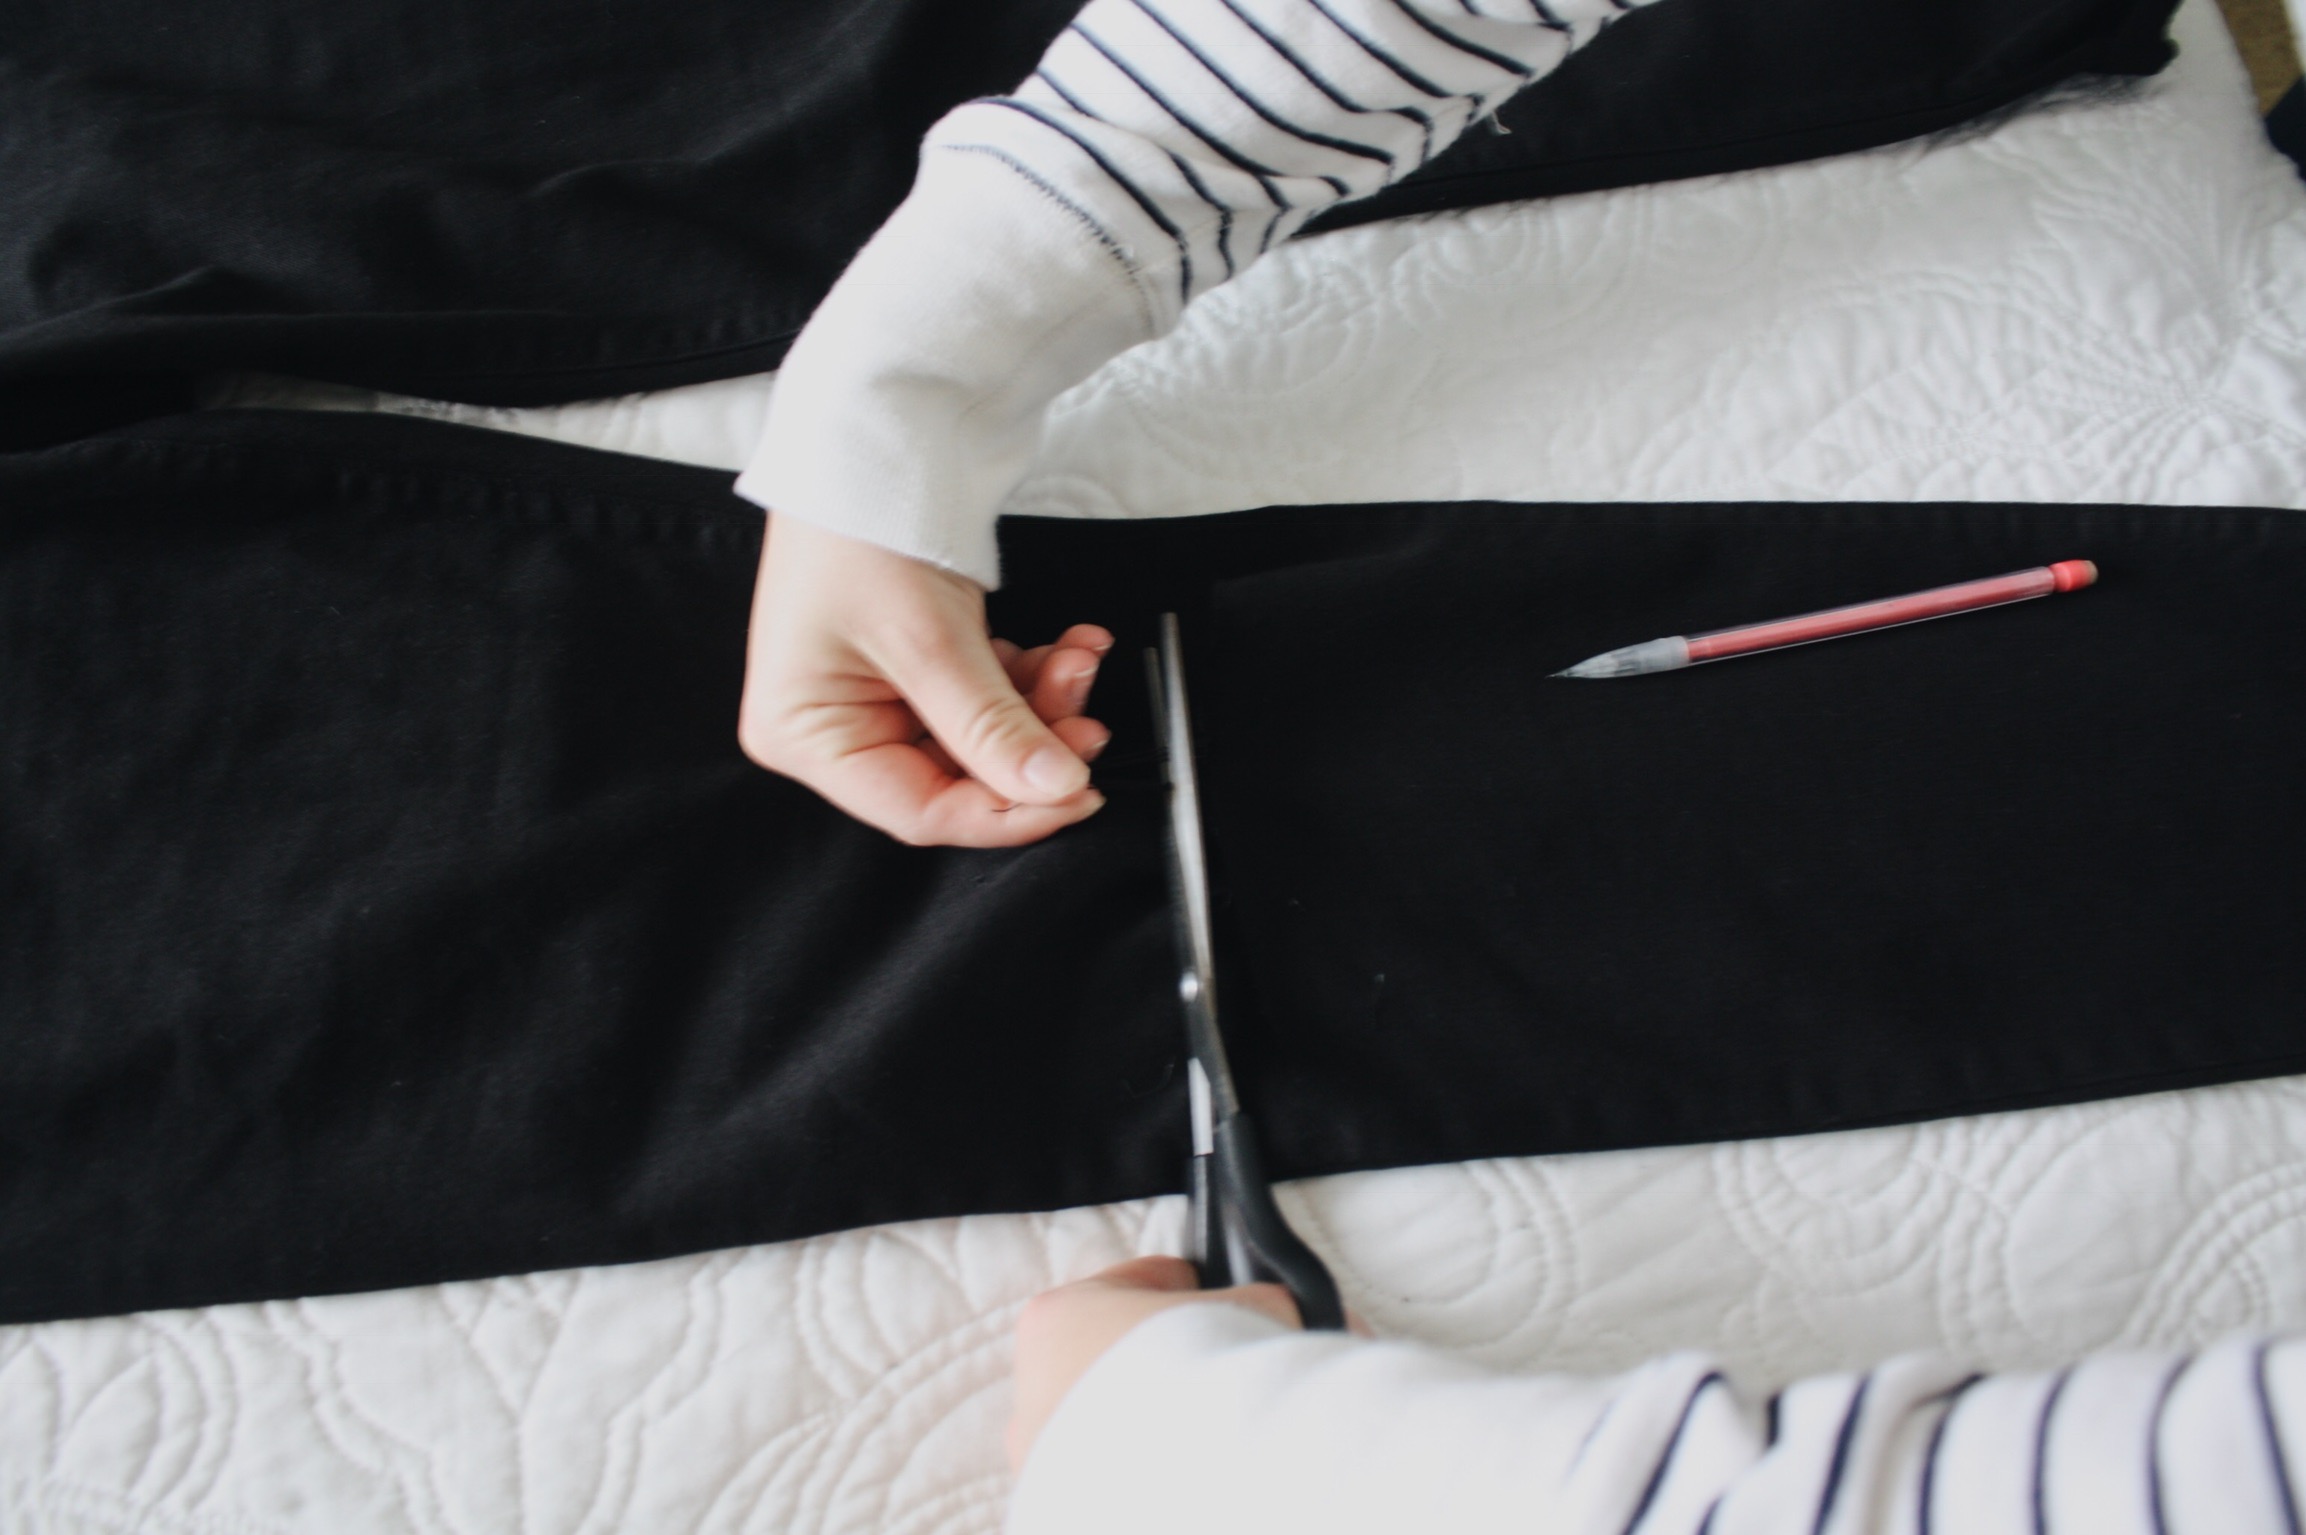
STEP TWO: Slip off your pants and lay them out flat. Find your pencil line and pinch it, then use your scissors to cut a small hole....
...that looks a little like this one!

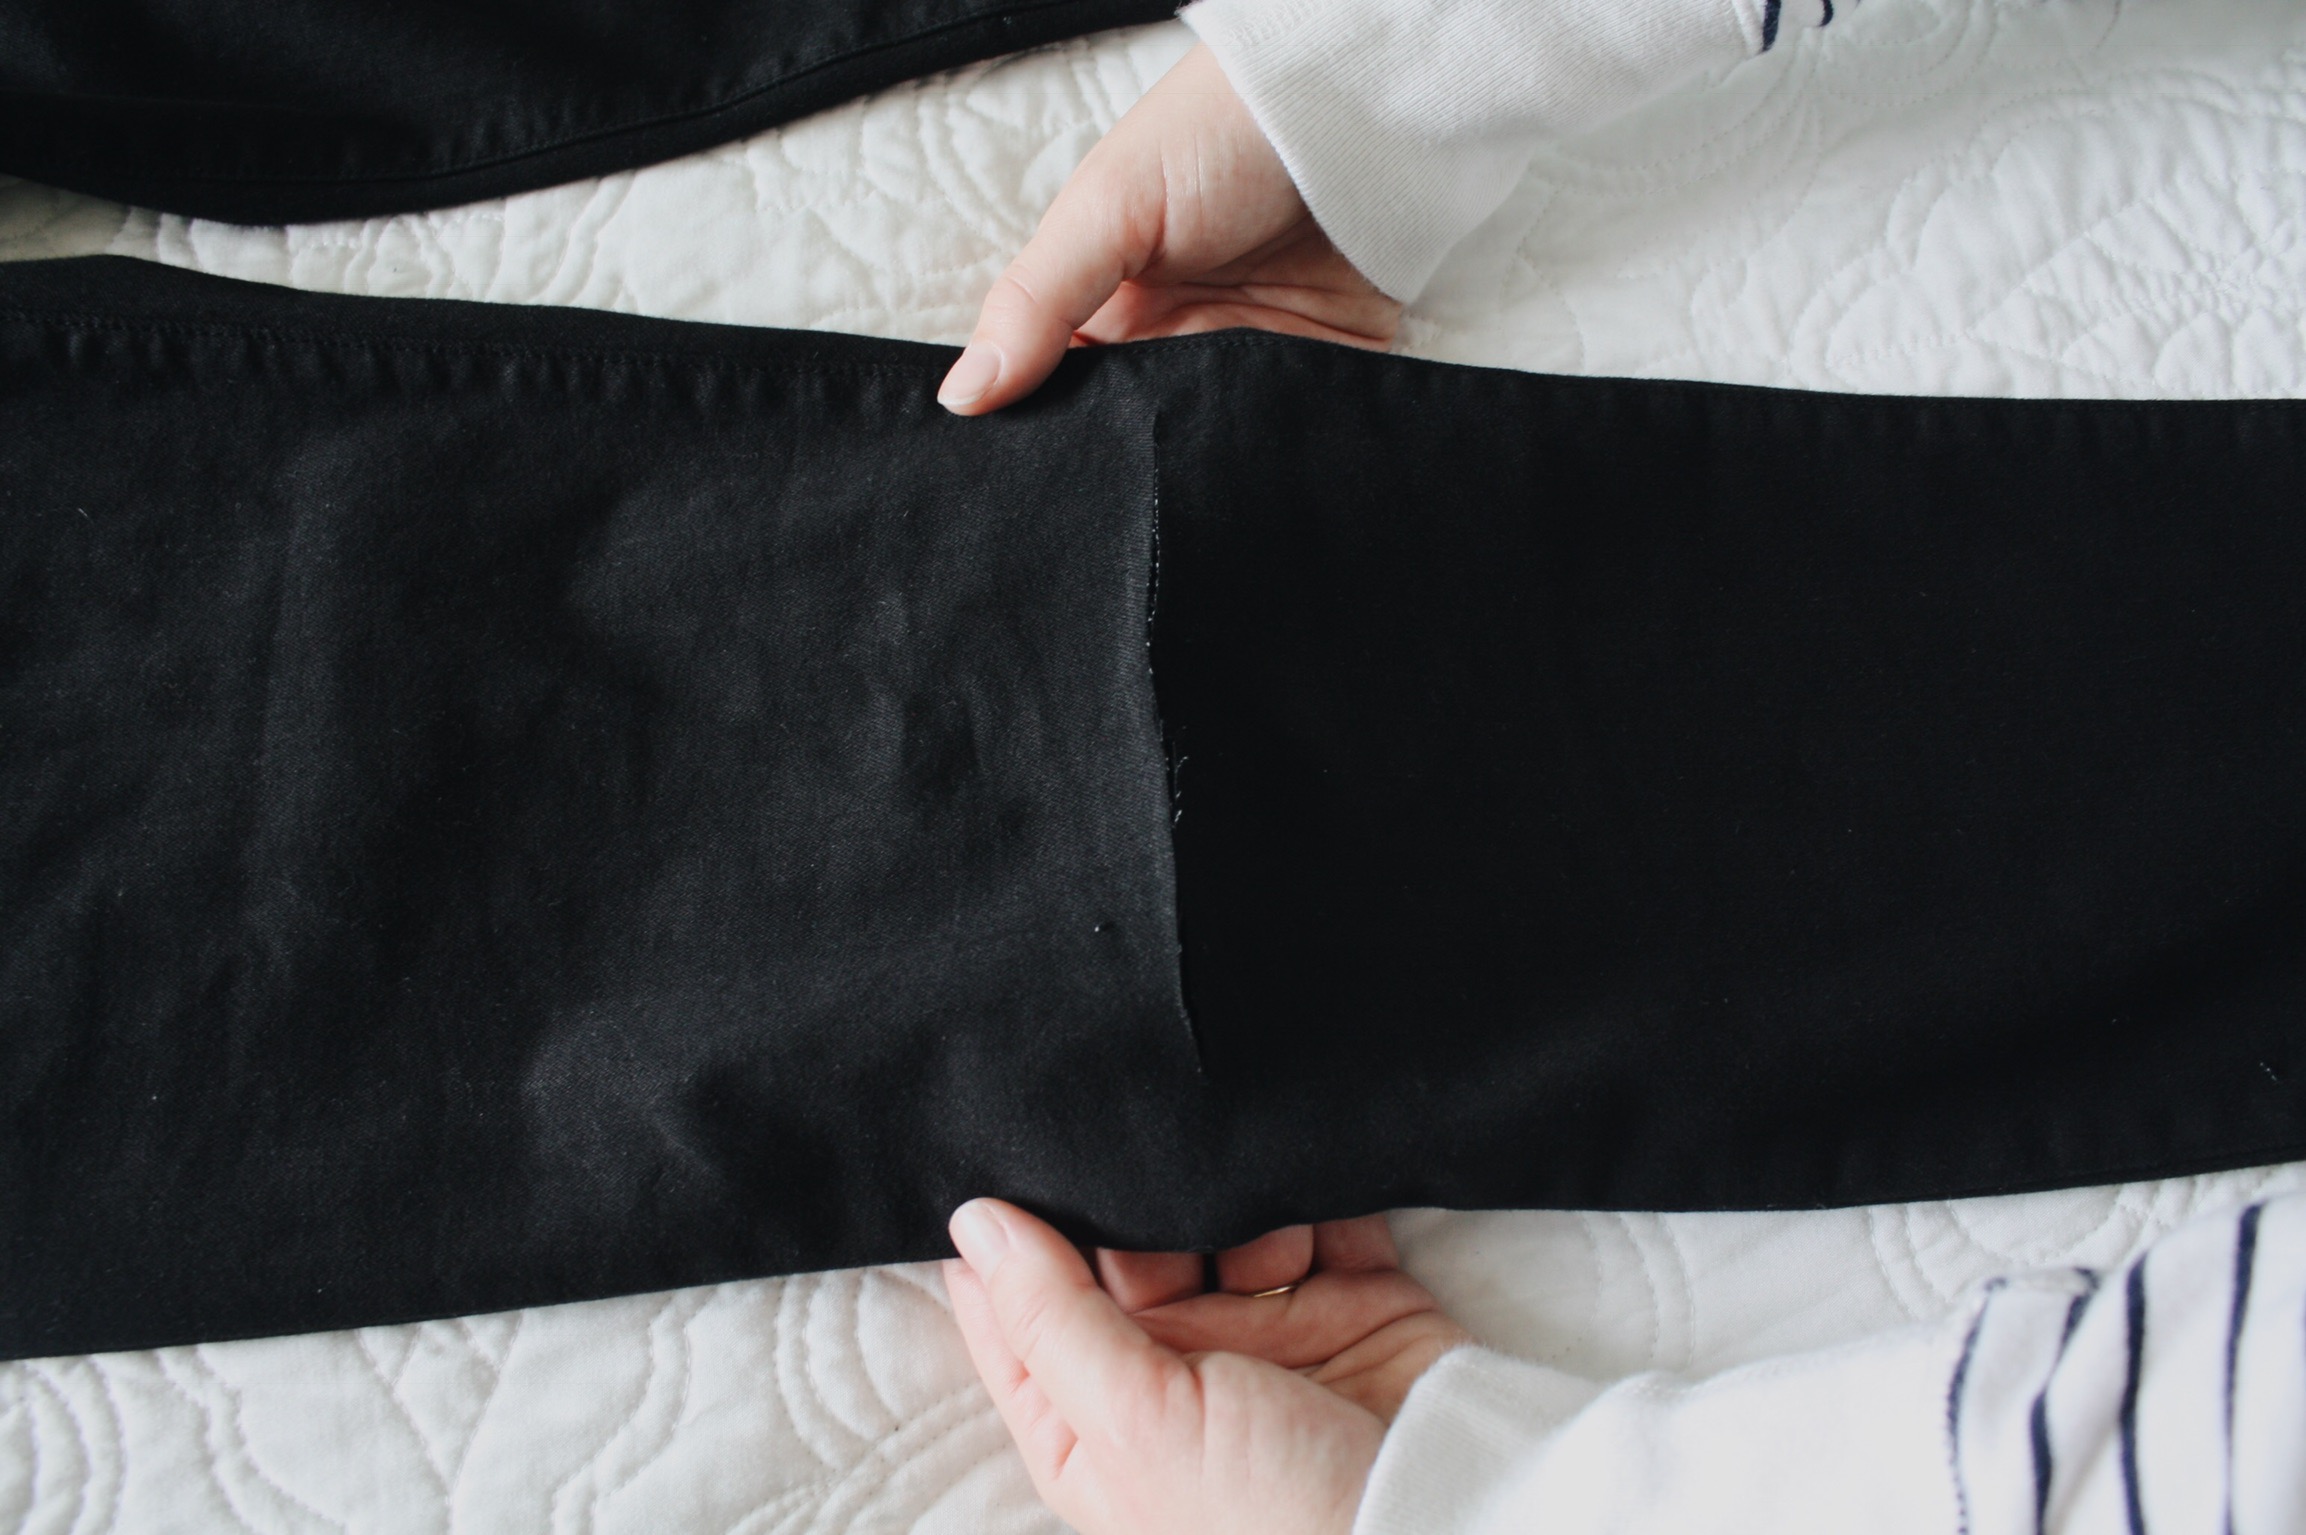
STEP THREE: Use your scissors to continue cutting along your pencil line until you've reached a width you like. I stopped around half an inch from the seam on both sides.
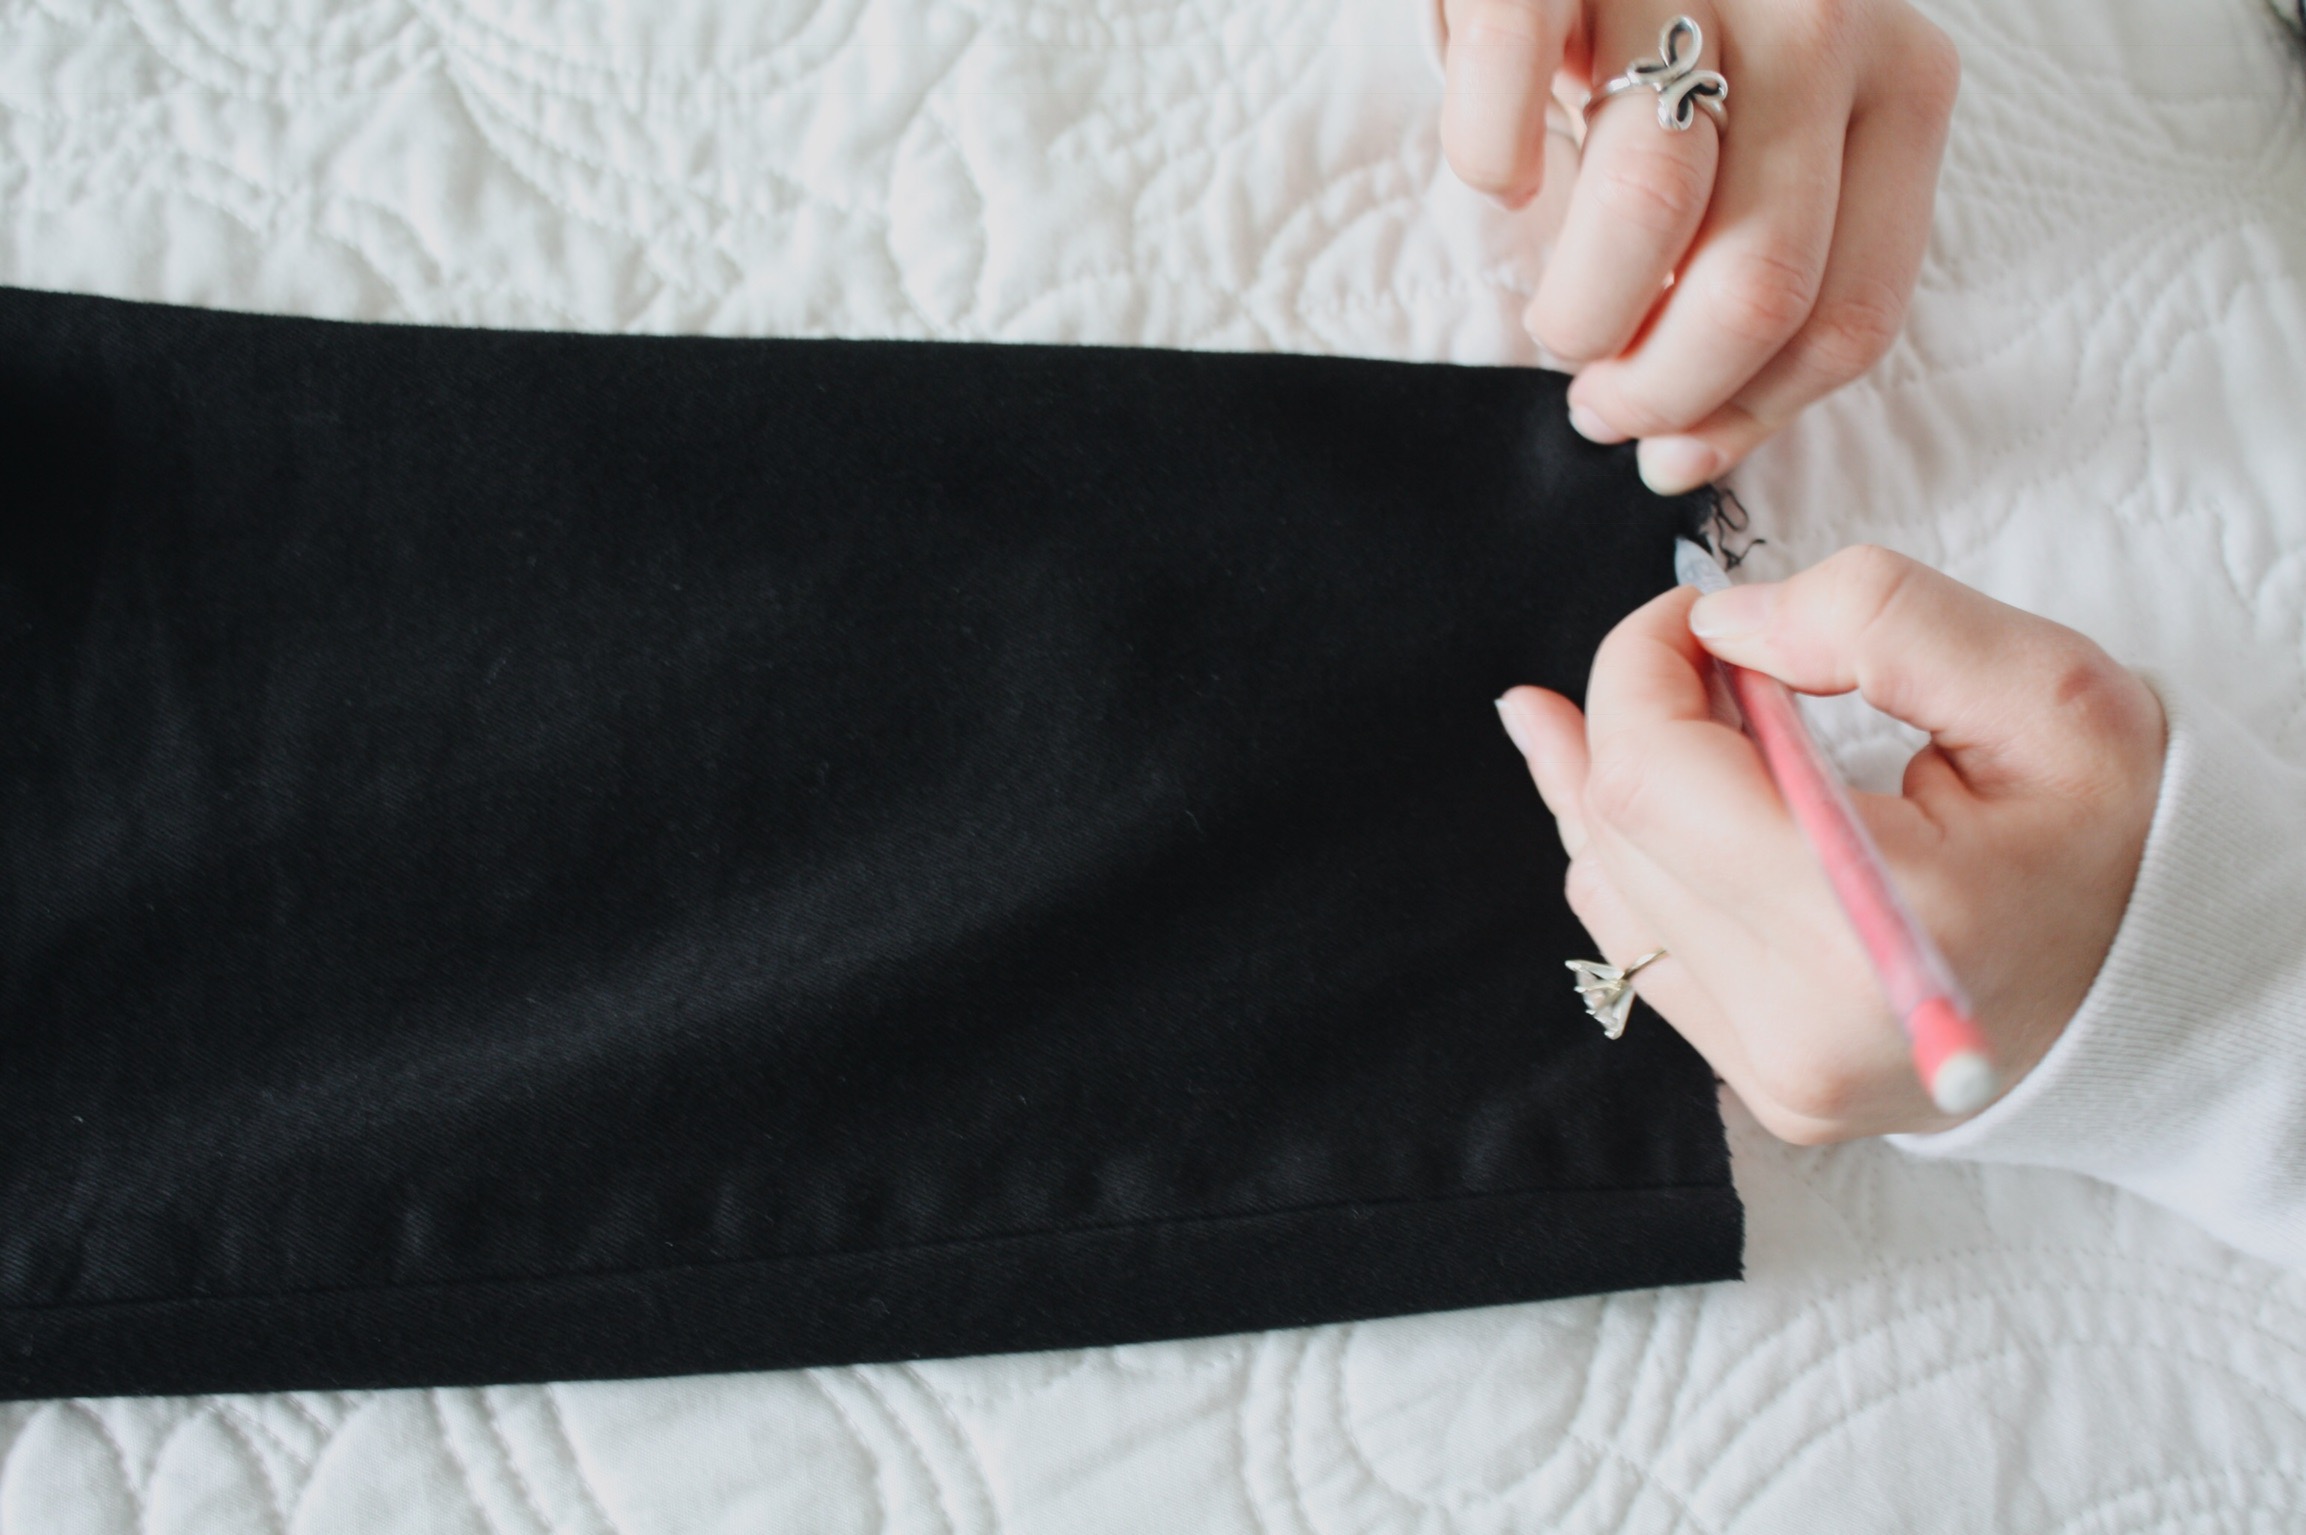
STEP FOUR: Using a pencil, start picking at the strings around your hole, pulling towards the hole so that you have a bunch of frayed ends hanging out. Once you've frayed all the way around the hole, trim the strings to a length that you like.
PRO-TIP: Because they're sturdier, mechanical pencil tips tend to work better than normal pencils for fraying.

Your hole should look a little bit like this!

At this point, you'll want to put your jeans back on and check out what you've done so far. Make any tweaks or trims, then go ahead and repeat steps 1-4 on your other knee.
Knee #1!

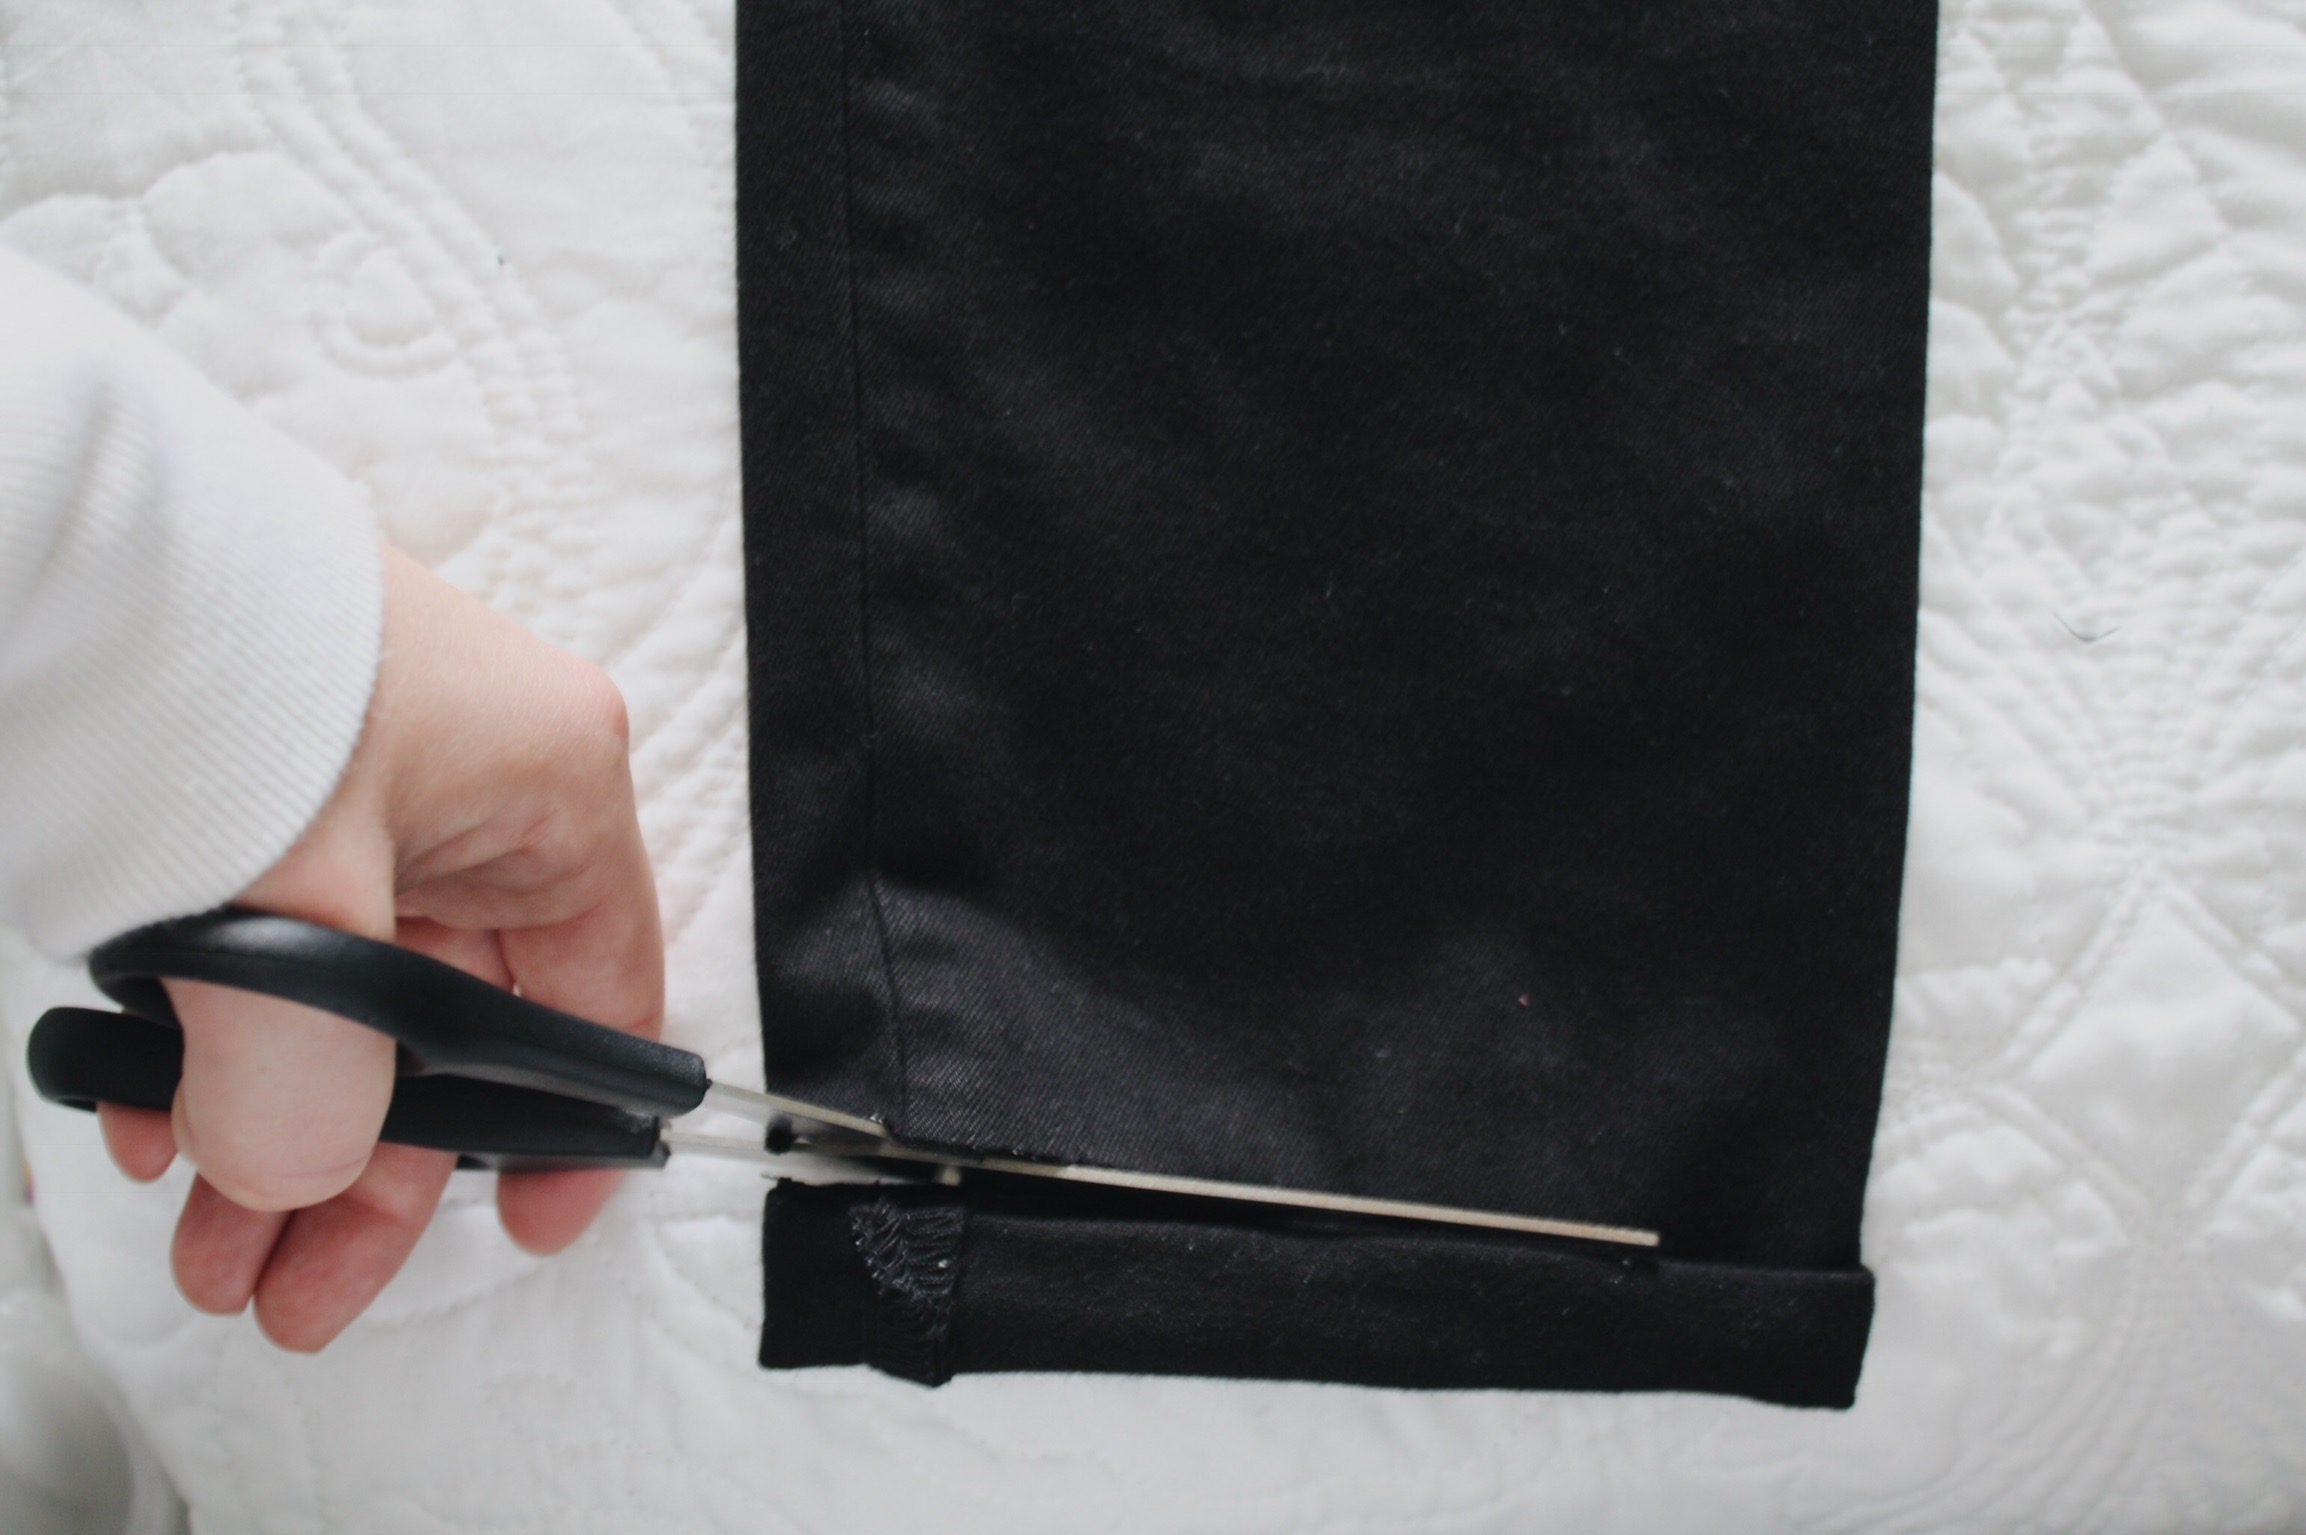
STEP FIVE: Once you've cut both your knee holes, put your jeans back on (this is the last time, I promise), and roll them until the bottom of the cuff sits right above your ankle bone for a cropped look, or 1-2 more times for a capri style.

STEP SIX: Take off your pants, lay them flat again, and cut those cuffs off. Then, using the same fraying technique as earlier, take your pencil and start pulling at the strings around the hem...
...this is what your hem should look like. I trimmed mine up a bit, but left some of the longer strings to keep them from looking too cookie-cutter.

And here's the finished product!

I hope you enjoyed this DIY! I love simple crafts, and this one is just perfect because of how on-trend and easy it is. Let me know if you have any questions by commenting down below or shooting me a DM!
xx,
Em.